Growing Great Garlic
- Oct 11, 2023
- 7 min read
Updated: Nov 2, 2023
My beautiful zinnia bed has now been turned into a fantastic garlic bed. This is a much better purpose for it as the bed is in the side yard, along the pathway from the front yard to the back, and cannot be seen from anywhere else. The zinnias were spectacular this summer... but were out of sight. So, the flowers will be grown near the patio next summer, while the garlic will grow happily in the side yard. Luckily, garlic thrives on neglect.

Garlic, once planted, is super easy to care for. Water once a week, keep the bed weeded for the biggest and best bulbs. That is about it. Harvest in July on the west coast (zone 6 and up), but late August or even early September here on the prairies (zone 3).
Why would you bother growing your own garlic, you ask? Well, the most important reason is that you don't know how that grocers garlic was grown, but most likely not organically, at worst it may have been grown in nightsoil. Check that out if you want to get grossed right out. At the very least, it was bleached and sprayed with chemicals to prevent sprouting.
Second, well, you know... anything homegrown tastes amazing, including garlic. It is so much better than the dry stuff at the shops. No idea how old that stuff is, but fresh, homegrown is juicy and has rich depth of flavour.
Third - It is inexpensive, super easy to do, you can pop in a couple of cloves, or a whole bunch.
Planting is done anytime between mid-September and mid-November in the PNW, though I have planted as late as December and noticed no difference in the harvest. Here on the prairies, the planting window is shorter. Early October seems to be the preferred time, but anytime late September to late October works just fine.
If your garlic sprouts in fall or winter, not to worry, they will be just fine.
Garlic Planting How-To

Bed Preparation - The bed was emptied of flowers (weeks earlier than I would have liked) so that I could prep it ready for planting. Isn't it spectacular with all those blooms?

We added a good 2 or more inches of compost, filled it to the brim. You always want to start with really great soil. The garlic will be in that bed for a long time, a good 9 or 10 months, so needs a lot of nutrients to grow into a good sized bulb.

To avoid worrying about the spring freeze and thaw that often kills plants here on the prairies, these garlic cloves were planted at the very bottom of this bed, pretty much directly on top of the ground.
*note - winter growing in raised beds can be problematic in central Alberta because we get Chinooks (warm spells ) that can thaw out the soil in the beds, and then they refreeze when temps go down again, which turns roots and bulbs to mush.
This is not a problem in the warmer gardening zones, free to plant in any kind of raised bed without worry.

The recommended spacing for growing large garlic bulbs is 6 to 8 inches apart, though some will do as much as 9". Farmer Guy uses 7" spacing, so that is how I roll, as well. I figure if it is good for the professionals, it is good for a home gardener. Closer spacing is just fine, if you have limited space, but tends to result in smaller bulbs.
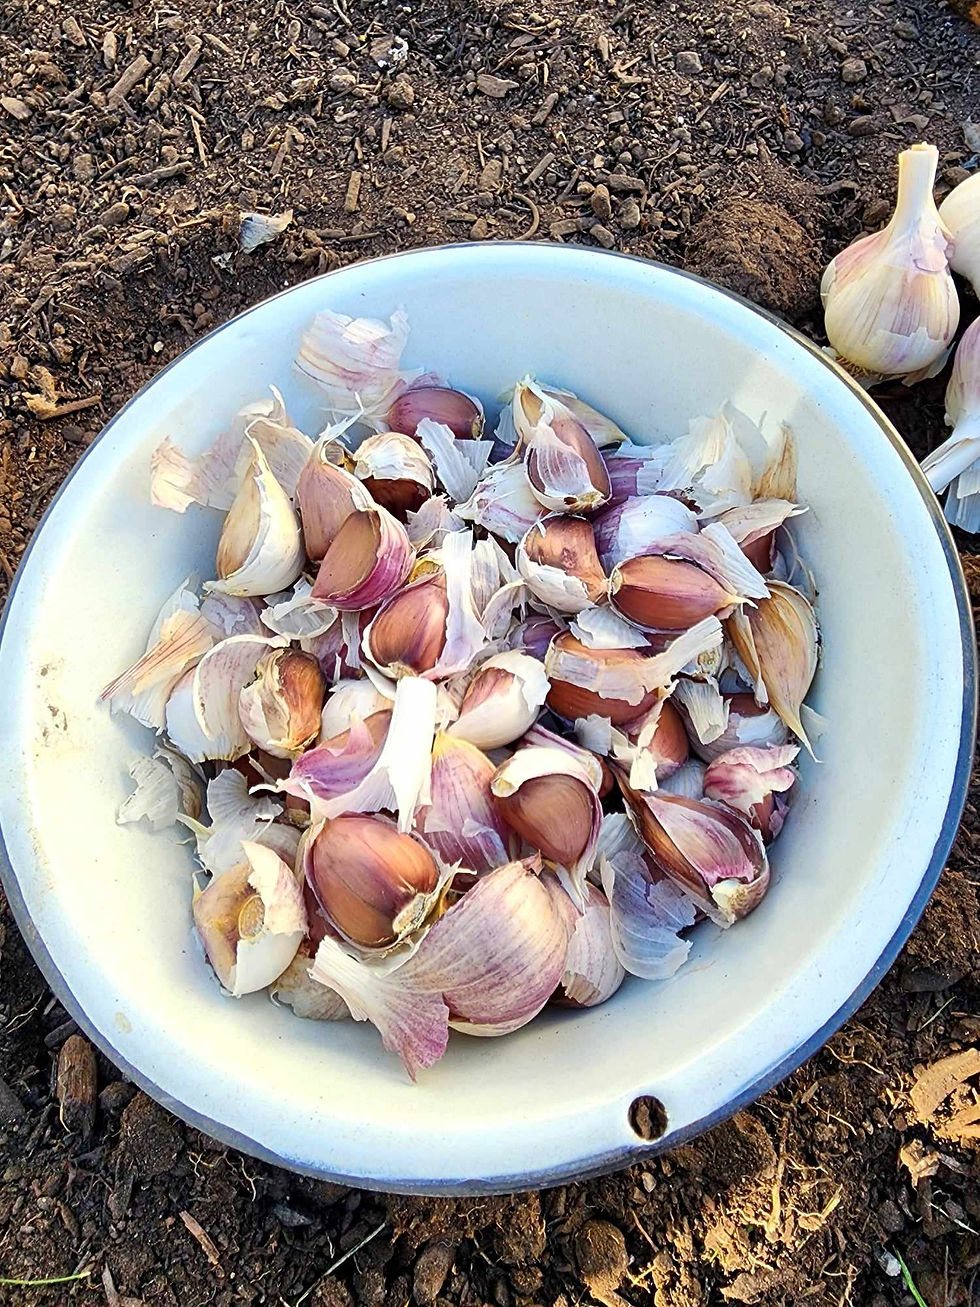
Break your bulbs into cloves.

If your garlic has lost some of the papery skin, it open to pathogens and less likely to thrive. Use it for cooking instead. I planted this one anyway, hah. It either thrives or dies.

I bought 5 bulbs from a local garlic farm this year to add to my stock. The ones in the bowl were all from the ones I grew myself, bulbs I brought from my garden in BC. These new ones originate from this garden zone, so should do well. They're German Red and Russian Red.
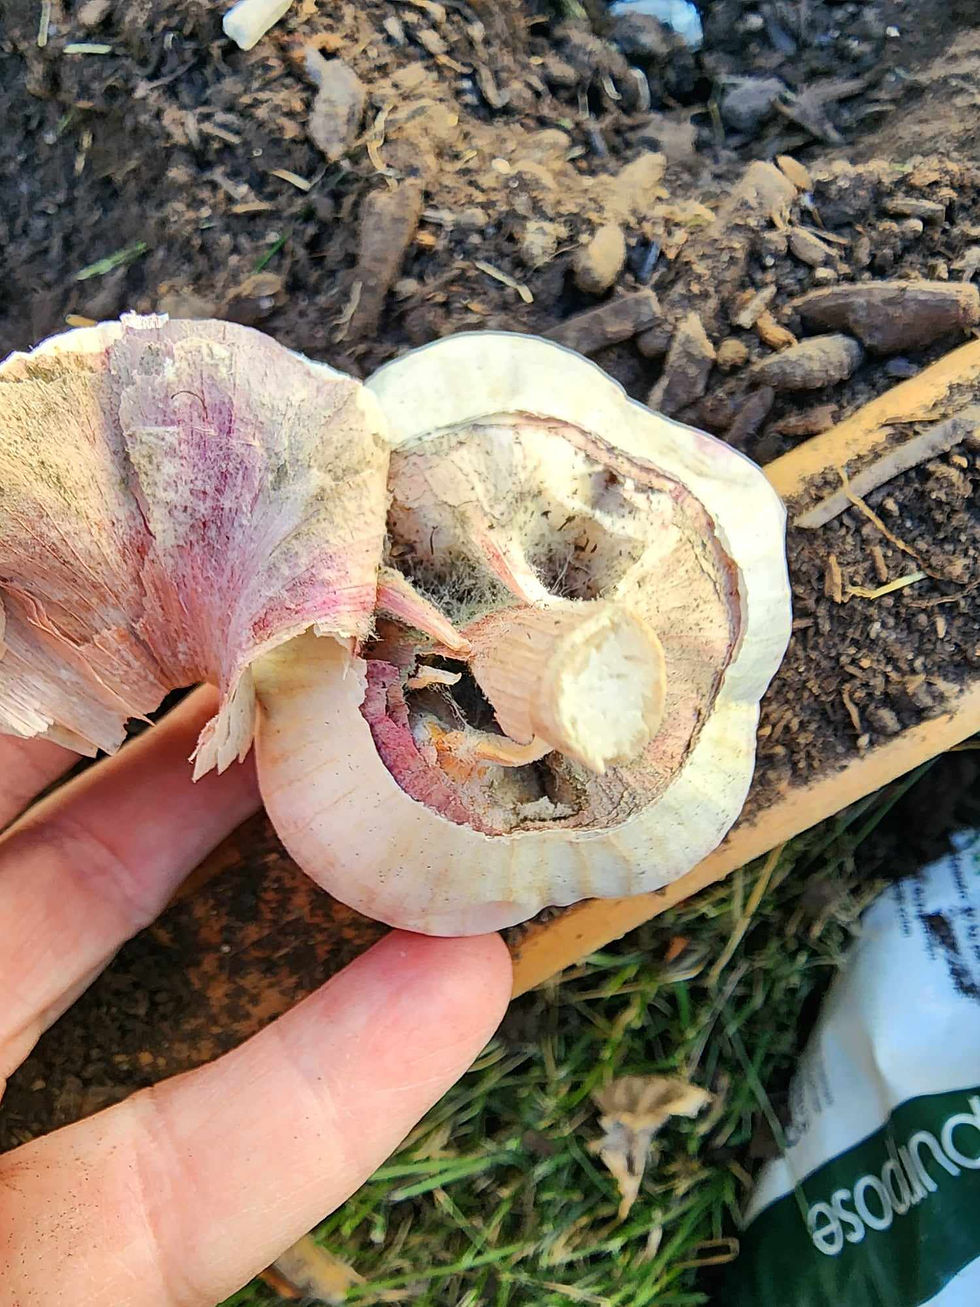
One of the bulbs was mouldy. Do not plant garlic that is soft, mushy, blemished, or covered in fuzz, like this one.

To prevent mould when I harvest my garlic, I clean it up right away rather than letting it sit and cure first. I remove roots, soil, and a layer or two of skin. These white, soft outer skins will turn papery and dry in a matter of days, not to worry.
I have not lost a single bulb to mould or rot since I started doing this. The other bonus is that both the roots and the skins are much easier to remove while they are fresh and soft. My arthritic hands rejoice.

To make the planting go faster and easier this year, I used this bulb auger. You can get one with a long shaft or this shorter one. I like this one as I have to get right down there to plant the bulbs anyway, to make sure I get the clove where I want it, with the pointy end up.
Here is the link for the longer one, if you prefer to stay standing and just drop the cloves (or bulbs) into the hole (or get a grandie to pop them in) .
For an affordable drill, this Black & Decker would make a great garden and yard drill.
I added a wee bit of Acti-Sol Hen Manure, too, as an extra boost of nutrients for the cloves to grow up big and strong.

Check out the size of these German Reds! They are ginormous. Hopefully that results in enormous bulbs next year! Plant them in the soil with the pointy side up.
In warmer zones, like the rainy coastline, you want to plant your garlic just two inches down, with the top just an inch below the surface. You need a bed with great drainage or your garlic will rot.
In our zone 3 garden, we are going 4 to 6 inches deep.

That is it for planting. Good soil, seven inches apart, 5 inches down. Cover with cheap trellis from the dollar store to keep the cat and dogs out of the bed.

If you are having a warm, dry autumn, water in the garlic. Do not fret if you did not get to it, though. On both the coast and the prairies, they will be just fine even without this step.

Once the weather turns cold, before the garden freezes up, mulch the garlic bed with several inches of straw. No need to do this on the west coast as it just harbours slugs and snails.

In spring, as the garden begins to thaw out, remove the straw mulch. Honestly, no recollection of why I had these ice cubes in my garden bed. Cleaning out the ice cube bins, perhaps?

Three or four weeks before harvest, the garlic will make scapes.
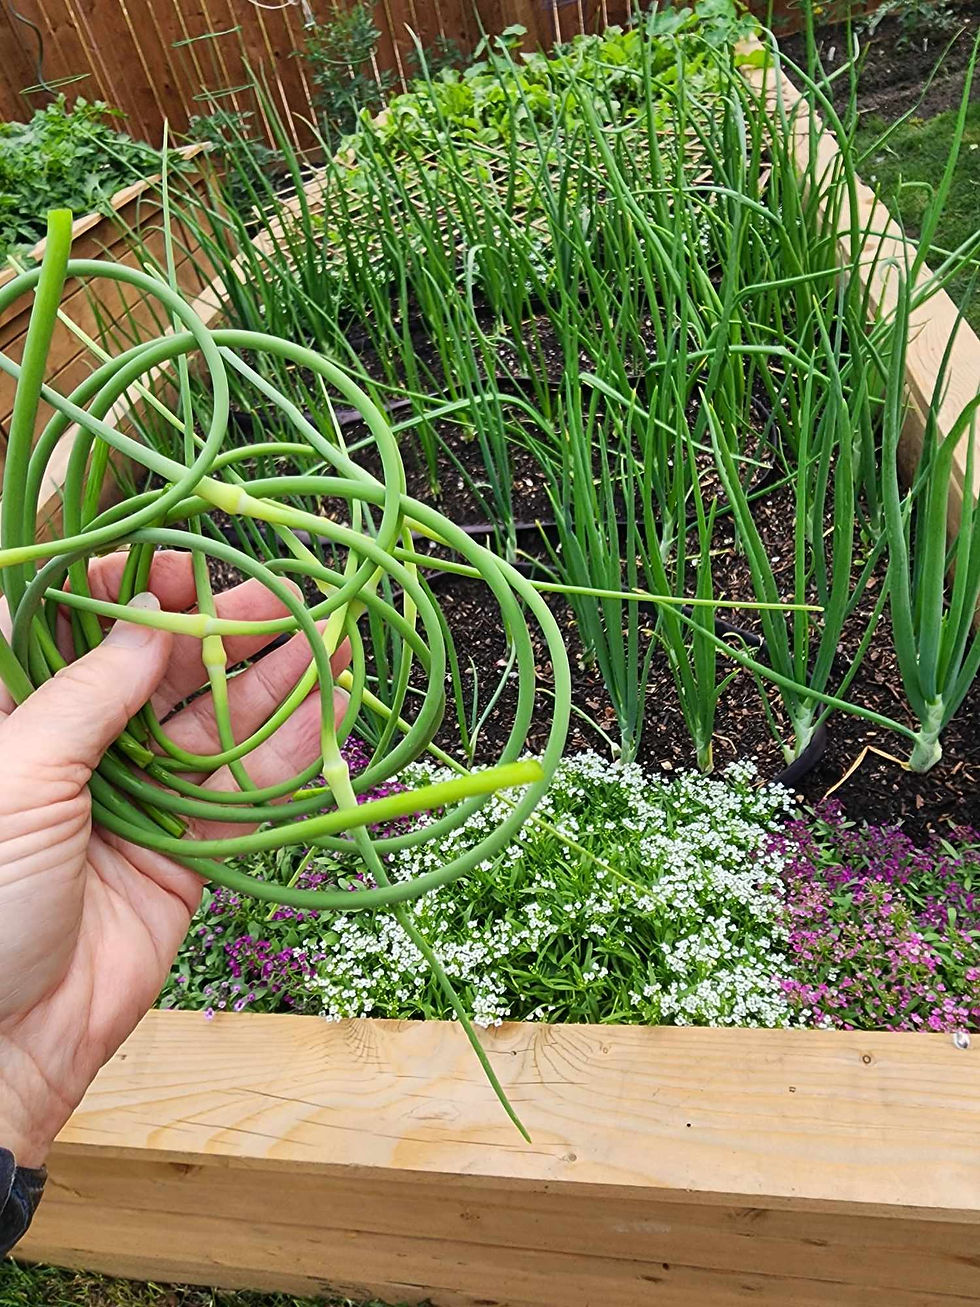
Remove the scapes as it directs the energy into growing larger bulbs, rather than making seeds. The scapes are edible, taste very garlicy, are a bit like green beans in that they are crunchy. Add to stir fry's, bbq's, potato dishes... anywhere that you would add onions or garlic, you can add scapes.
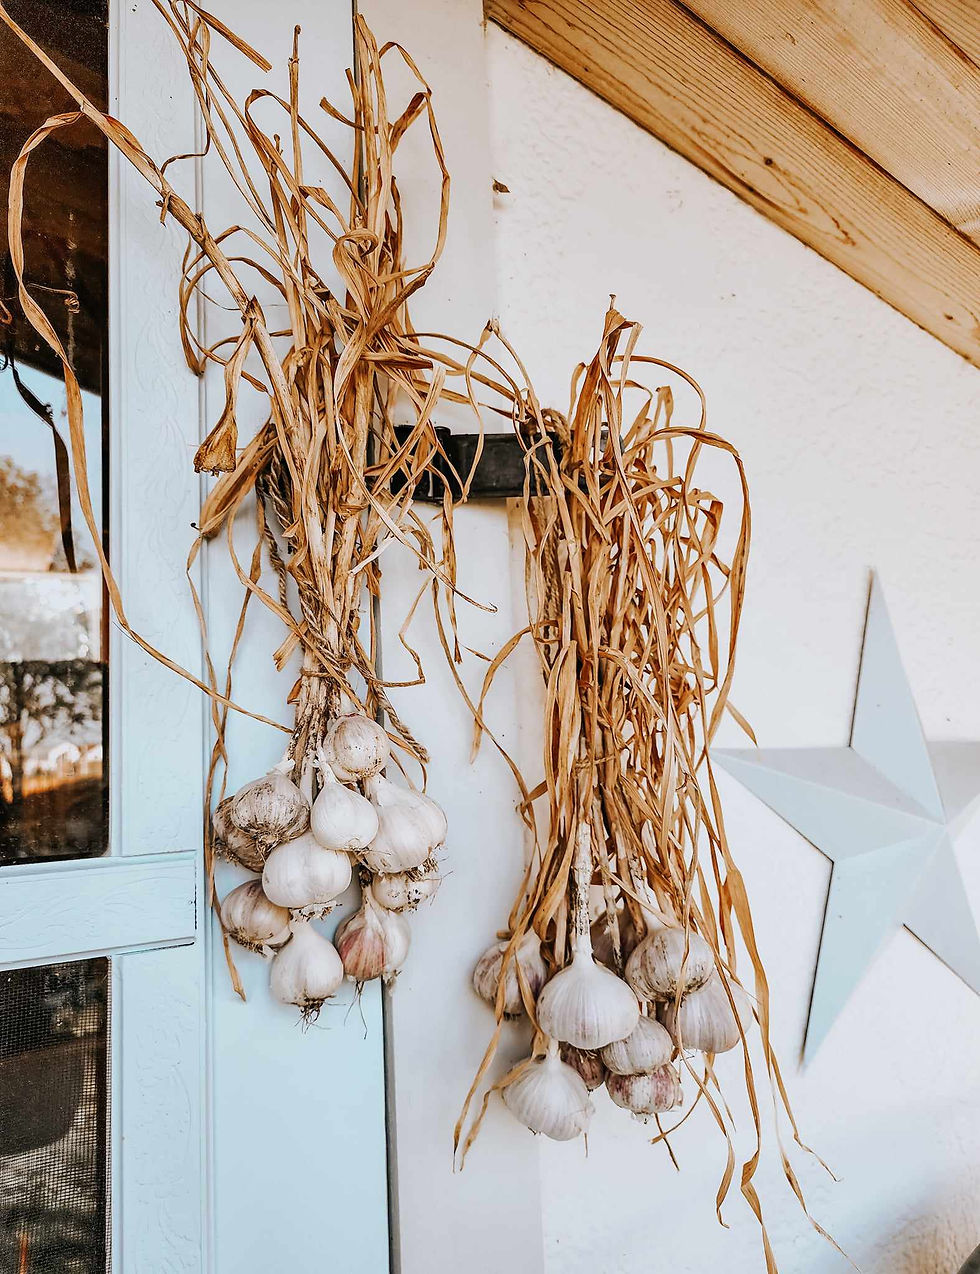
4 weeks after removing scapes, when the leaves are dry halfway up the stem (just 3 or 4 green leaves left), lift the bulbs, clean them up, remove the roots, remove a layer or two of skin... place out in a shaded but airy area to cure. I hang mine from the shed as it has a bit of a porch for shade. See how the skins have turned papery already? Does not take long.
I leave my bulbs out to cure as long as I can, while the weather is warm, but give yours at least 3 weeks to dry and cure. If it has been rainy or humid, leave for longer. Well cured garlic lasts for a good 8 months. If your weather is really rainy, bring them in the garage or similar, lay them out on a table or hang up, and then run a fan over them. The curing process is crucial to long lasting bulbs.
When well cured, stalks completely brown and dry, cut off the stalks, leaving just a bit of stem so that you have something to use as a crank to open it up to get at the cloves. If well cured, your bulbs (depending on variety) will last till spring next year. Share with friends, family, neighbours, and the food bank.

For more detailed planting instructions, please see last fall's post here.
Happy garlic planting ~ Tanja
Regarding the links.... I have finally become an Amazon affiliate so I can share my favourite things with you all. The auger bit is the best thing I have bought in a long time. It made the garlic planting a breeze, but best of all, planting all those tulip bulbs in my hard clay soil was super easy.
User Tip... go slow and steady, do not fast or the soil will fly everywhere and the drill may roll about in your hands. If it does not want to go into the soil, go to a different area. Do not try to drill through obstacles like tree roots or rocks. If the bit does not want to go in, go get a shovel.
Do not use an impact driver. Not sure why, it just says not to. Here is a link for an affordable drill that you can use for your garden and yard.
DISCLAIMER - On this blog, I may sometimes use affiliate links, which means a small commission is earned if you make a purchase via the link. The price you pay will be the same whether you use the affiliate link or go directly to the vendor’s website using a non-affiliate link.


Thank you for all the detail and personal bits Tanja! It is SO helpful.