Get Your Gardens Ready for (Old Man) Winter
- Oct 6, 2023
- 9 min read
Updated: Oct 7, 2023
We have been so very busy! Fall harvest and canning is a big job in itself, then add in garden clean up and getting ready for winter, and it quickly adds up to some crazy busy weeks.
Here are the 3 things I do each fall to prepare the potager and gardens for winter.

STEP ONE
Do a thorough garden clean up. A long time ago (2016), I was reading an article about David Mattern who oversees the vegetable garden at Chanticleer Gardens, and his proactive approach to pest control, among other things. The entire read was super interesting, but what really caught my eye was when he said that cleanliness is next to godliness in the vegetable garden.

I was reading the article the autumn after I had madly battled brown marmorated stink bugs (loads of them) all summer, in my potager. They were living (and procreating) in the strawberry plants but were going after the raspberries, corn, and tomatoes, as well. They completely destroyed every corn cob that year.
So when I read that David removes all plant debris, all vegetative matter, takes everything out right down to the compost, in order to keep the garden clean and pest free the following spring, that really struck a chord with me.
Bugs will overwinter in plant debris, under leaves, and in the stalks and stems of plants. In spring, they wake up right there, in your food garden, ready to eat anything they see. They will be on your wee spring seedlings, or just beneath the soil, waiting to eat and burrow into your radishes, beets, carrots.
Ever since then, we have done the same and it has made all the difference in the amount of pests we get (little to none- I kid you not!). This one step is by far the best thing you can do for a pest free garden.

I ripped out all those strawberries, I had about 120 plants - alpine, ever-bearing, and June-bearing. I composted most of the plants and moved the others to a bed far away from the potager, close by the roses, flowers, and blueberries, instead. Oh, I got rid of the stink bugs by flicking them into a pail of soapy water first. Filled that bucket!
Then I removed all the vegetation, all the plants, their leaves, and the weeds, too. The only thing left standing in the food garden was the asparagus (cut back to 6 inches), and the vegetables that overwinter in a zone 7 garden (carrots, parsnips, celery, brussels). These are all harvested before spring, so if any bugs were lingering, they are removed in the dead of winter. I moved my fall and winter veggie bed up by the strawberries. It is also harvested by late spring, so is cleaned up and no bugs are carried forward to the summer crops.
So, transfer that advice to this garden on the frigid prairies, in my zone 3 garden. I have no fall and winter garden, no veggies will be harvested in February here (hah), and I have no asparagus plants to cut down, as of yet.

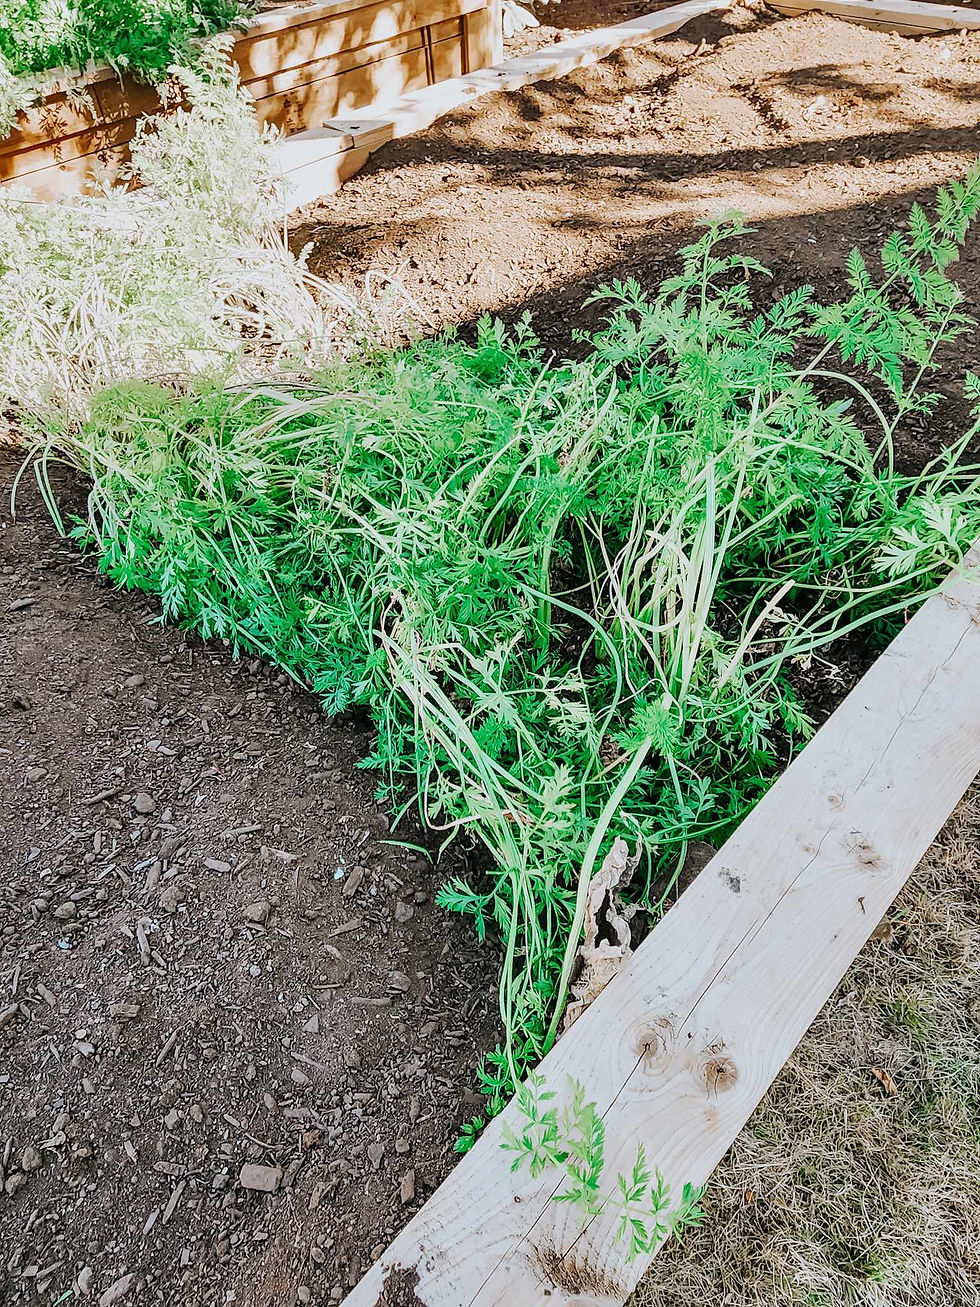
We have removed all the plant material from the garden beds, except the celery and carrots. Will leave the carrots in till November, so that they get sweeter with the frosts. They will then be harvested, tops removed, washed, dried, placed in a bag with a few air holes and a paper towel, put into the crisper in the spare fridge. The celery will be pulled shortly. Till now, we have just been harvesting the stalks, as needed, for cooking and canning.
I do a good last weed and a thorough clean up. Did you know that raised beds tend to have less weeds than in-ground ones? And are easier to keep tended? That is why we have added a few more beds this fall! The beds are generally packed full of plants so weed seeds have no place to land in the garden.

STEP 2
Practice no-dig/no-till gardening. I adopted the no-dig gardening method a dozen or more years ago and never looked back. Why adopt no-dig, no-till?
First - your body will thank you for it. No more digging, turning, tilling, messing about. Just run the hoe over the bed to knock down weeds and weeds that may be germinating right under the soil that you cannot yet see. Do the edges of the beds really well, that is where they tend to end up. I use a Winged Weeder, a triangle hoe to do this as the blade lifts up and weeds, but also the pointy wings go along the sides of the bed so well.
Second - every time you till or turn the soil, you bring weed seeds to the surface to germinate. If you start tilling a weedy bed, you will have weeds forever as the weed seeds come to the surface, go to seed, giving you more weeds each time.
Third - most importantly, the humus and soil life is being shredded each time you rototill. There are all sorts of beneficial microorganisms and mycorrhizal fungi threads under the soil that make your soil better, and thus make your plants stronger and healthier. Nature is providing you with healthy soil, doing all the work for you. If you till, you end up having to feed your plants and repair the soil - paying for things that nature was already doing for you.

I run the hoe through the soil to knock down weeds. If the weeds do not have flowers on them, I just leave them be on top of the soil to die. If it is warm and rainy when you are doing this, rake up your weeds! Especially hairy bittercress, that stuff will re-root itself in the blink of an eye.
THAT SAID...
Now, some of you are going to say that you have to till because you have really compacted soil. Tilling will actually make it worse. I know it looks all nice and fluffy, so pretty after it has been tilled, but you are breaking up the particles of the soil, the humus, so that they end up compacting even more densely, meaning that you have to keep tilling to keep the soil from turning into concrete.
Here are two things that I think do not do damage and may be helpful to your soil...

Get a cultivator rather than a tiller. This short tined machine will fluff up just the top 4 inches of topsoil, leaving the fungi threads and soil life alone. It breaks up that hard crust that sometimes forms on top of the beds, blends in your compost, manure, soil amendments, and also uproots small weeds.

For growing root crops, especially, use a broadfork. A broadfork is a garden tool that I have wanted for years and years, but they tend to be pricey, so I make do without. The broadfork aerates your garden, adds air to the top few inches of soil without damaging the soil texture below or mixing up soil layers. I would especially like this for my garlic bed so that it can set in good, strong roots in loose, friable soil. How to use a broadfork.

STEP 3
"Feed the soil, not the plant" is the foundation of organic agriculture, whether in a garden setting or a farm setting.
The third step in my potager clean up is to feed the soil with compost or manure so that I never ever have to use fertiliser. I switch it up between manures and composts from year to year to attract diverse soil life. The more diversity you have, the better your soil is, the healthier your plants are. Dump in the used soil from your hanging baskets and potted plants, too.
If you have great soil, you only need a half inch to one full inch of compost on top of your beds. Rake it out and allow the soil life to work it down into the soil.
If your soil is poor and you are trying to amend it, make it grow better foods and flowers, use more. If it is a bed that is empty of all plant material (your food garden) top it with as much compost as you can afford/fit in. I like to go about 3 inches deep.
If it is a flower bed that you are wanting to improve, push a couple inches in and around your perennials. Do not give compost to your trees or shrubs now, feed those in early spring.
If you have hard, compacted soil, add lots of compost or manure right on top of the soil. The soil life will aerate and improve your soil quality, you just need to feed them with this organic matter. You can use branches, leaves, grass clippings, all sorts of organic matter, but I would top that all with a bit of compost or manure just to keep the bugs from overwintering in the vegetation.
The secret to making sandy soil better is feeding it with organic matter. The secret to improving clay soil is organic matter. Organic matter to feed your soil life is the answer to poor soil of any kind. It attracts soil life that will aerate and feed the soil (think worm castings). They compost down the matter which in turn makes your soil amazing. Remember the steps... you do not need to dig it in, just spread it on top and walk away. Let nature do what nature does best.


In my yard - we had such terrible soil (provided to us by our landscaper last year), the garlic did not thrive, nor did the dahlias and cosmos.
We moved the two 6"high raised beds into that area (more on that in the next post), put them right on top of the ground, leaving space in front for flowers and at the back for the dogs to travel along. The beds are open to the soil below, we filled the beds to the brim with compost that will feed the vegetables next year. This patio bed will be a thriving garden.
All the raised beds were topped up with as much compost as it took to fill them to the very top. These beds are 2 feet deep so were lasagna gardened. The bottom is filled with straw, leaves, branches, all sorts of stuff that will continue to break down and feed the soil life to provide me with great soil. The beds will sink for a few years yet, as those things compost down.

The greenhouse had the same poor soil as the patio bed so although the tomatoes did alright, they certainly were not amazing. The bed was topped up with a good 4"to 6" of compost. Expecting great things next year!
WHAT ABOUT THE LEAVES? and COVER CROPS?
I don't personally do cover crops but I think they are great. I prefer to chop and drop, especially around fruit trees and shrubs (orchard and food forests) rather than cover cropping, but that is a personal choice. Do your homework, find the right cover crops for your needs, try them in a small area first.
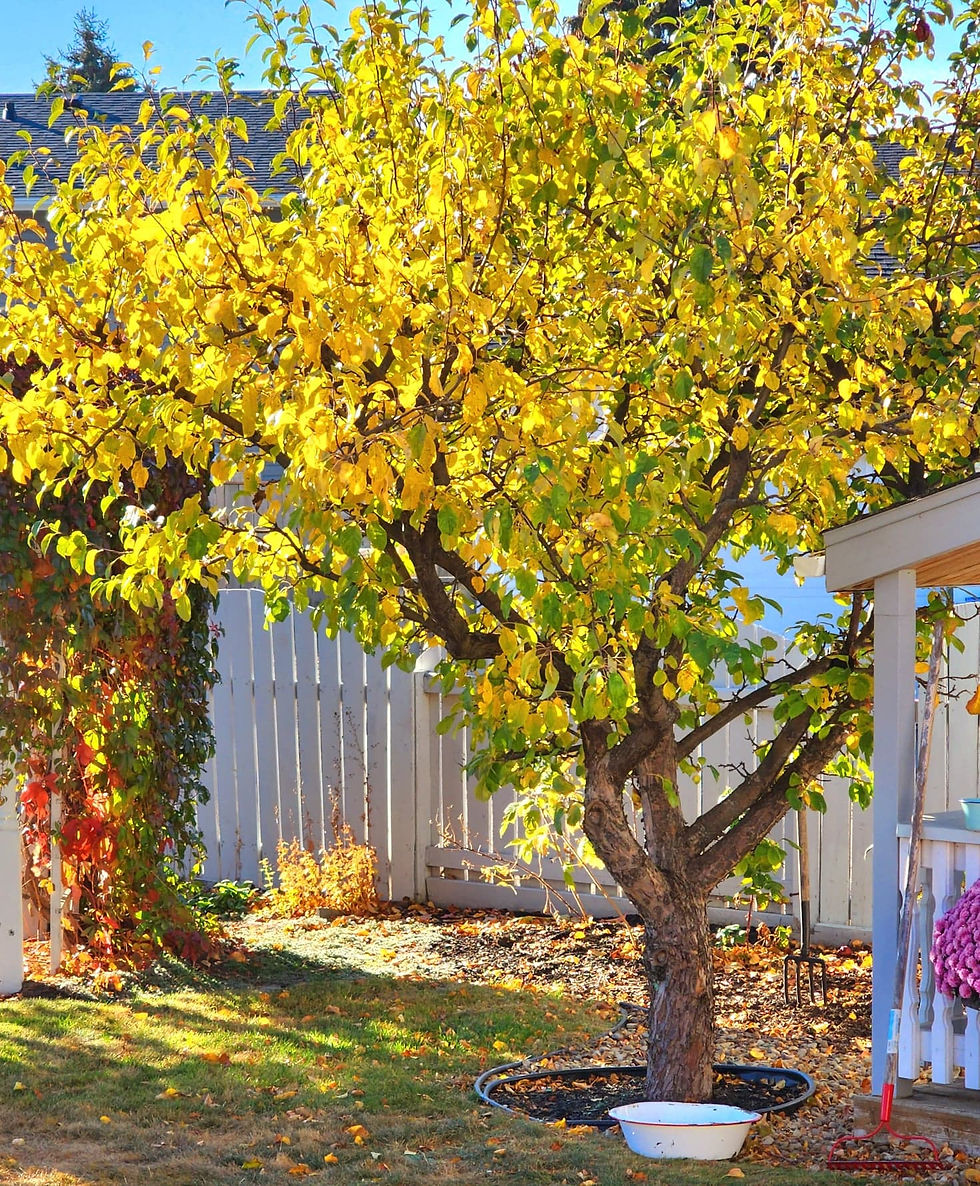
Leaves are garden gold and leaf mould is fantastic. I don't add leaves to my vegetable beds for the reason stated in step one, but I use them everywhere else. They can stay on the lawn, they get piled into the raspberry bed, perennial bed, flower beds, around trees and shrubs. I occasionally rake some of them up and pile them up for leaf mould next year that feeds my plants.

WHAT NOW?
While the raised beds are ready for winter, I still have lots of yard work to do. Pots to clean, shed to organise, clean up to do. The leaves have barely started to fall yet and I really want to pile them up in the raspberry bed this year. I gave it some compost already but I want to improve the soil friability and add more nutrients.

I will be planting my garlic this weekend so that it has time to settle in before the hard frosts and snow arrives. Here on the prairies, the garlic farms are planting theirs now, so I do as the pros do ; ) If you are one of my island followers, you really have loads of time to plant yours. I have planted as late as December some years.
I will be sowing carrots, lettuce, onions, beets, spinach, and some flower seeds at the end of October here on the prairies, unless we get a dump of snow. In that case, I will sow them in the greenhouse. I know that the carrots, lettuce, and flowers do well sown in October, the rest are a trial. You never know till you try.
Do not sow carrots now on the island, or the west coast. They will not have time to size up and then will just go to seed in the spring. Instead sow around winter solstice - I like Christmas week.

That is it. That is how to put your garden to bed for winter. Follow these 3 steps and you will have an amazing potager next year. Truly. Great crops and few pests.
I used to hold a show and tell workshop about these steps at the acreage, plus show how to plant garlic. Next year, when all is set up, I will have my free garden winterising workshop here at the new house!


Comments