Collect & Save Annual Flower Seeds
- Oct 21, 2023
- 8 min read
Updated: Aug 25, 2024
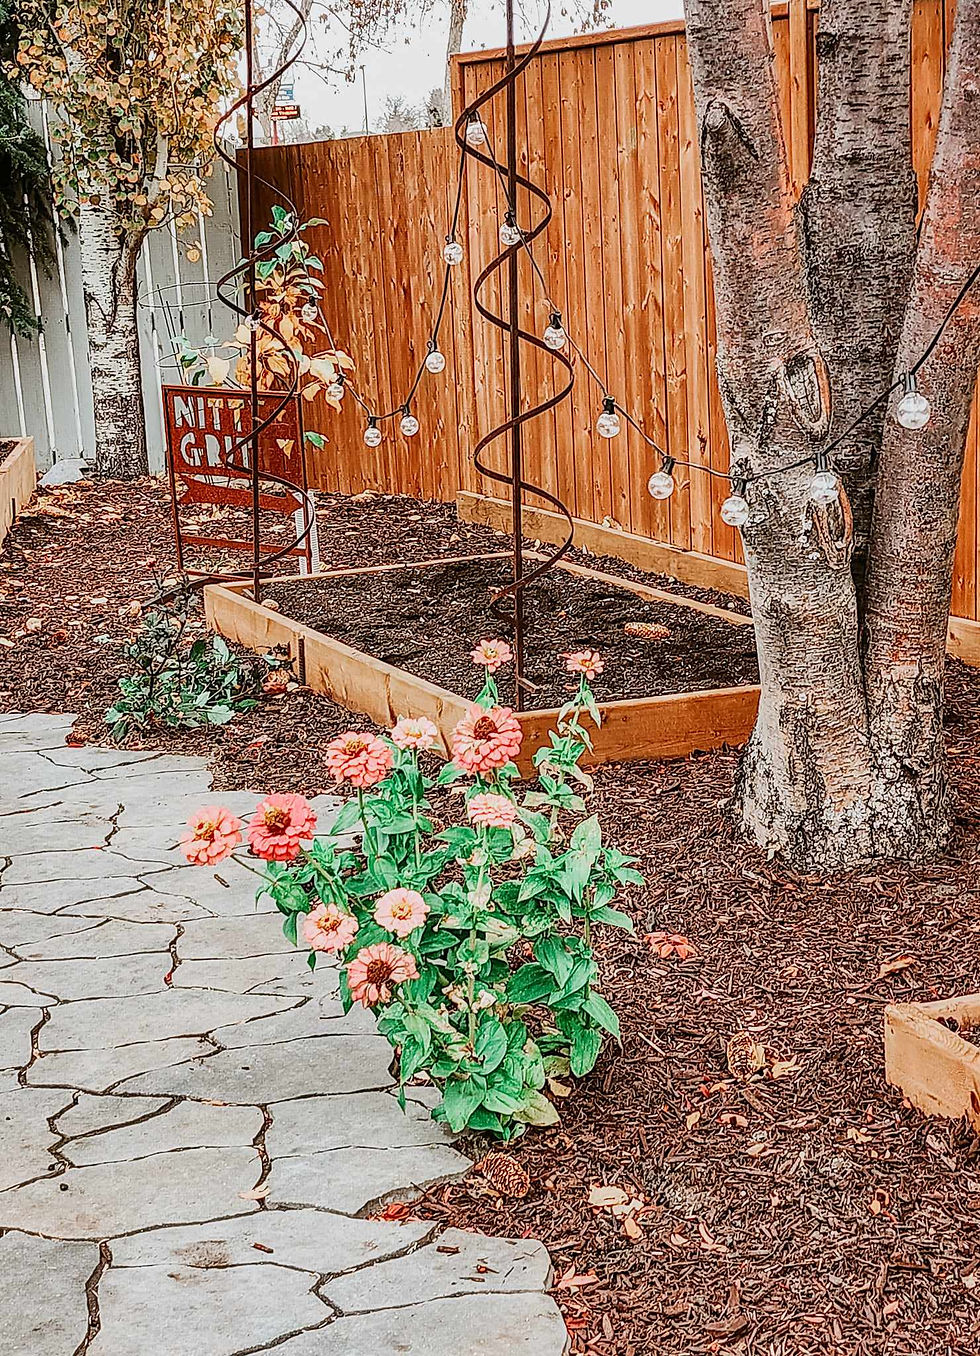
Annual flowers add colour and beauty to the yard and provide us with cutting flowers to bring in the house. They also contribute to the health and happiness of the vegetables in your garden by attracting garden both pollinators and the beneficial insects that eat or destroy bad bugs. A garden just isn't a garden without some flowers here and there.

No gonna lie, I grow a whole bunch of flowers each summer. Some for my pots and planters, some for all the hanging baskets, and some for my potager beds. My goal this spring was to attract all sorts of wildlife to my quite barren (new to me) garden. Critters like bees, bugs, and birds. I am happy to say that by growing annual flowers this year, more annuals than you can imagine, I succeeded in spades. I had bees, hoverflies, ladybugs, butterflies, birds...
However, buying all those flowers and seeds adds up really quickly. I try to shop the buy some, get some basket stuffer promos and seed sales, but it still is enough to make the pocket book cry. To tighten my belt and save money next year, I have been collecting some of my favourite flower seeds to either direct sow in spring, or start indoors 6 to 8 weeks before last frost.

Collecting your own seeds is super easy to do. Here's a how-to for collecting seeds from six of your most popular annuals.

Marigolds aka Tagetes ...
The best companion plant of them all - repels aphids, hornworms, even deer don't like them! No food garden is complete without marigolds. Plant them in your deer zone, around your tomatoes, in planter boxes.

Snap off the spent, dry flowers. Lay them out to dry completely.

When completely dry, pull the dry flower tuft off the top of the seeds, you will be left with these beautiful long seeds. You'll harvest many seeds from each blossom, so no need to worry if you only have a couple flowers left out in your garden. You can even pick the dried ones off of the beds when you do your garden clean up.

Label your envelope, stuff it full, or use several envelopes and share them with friends. Ready to go in spring. Can be direct sown or started 6 to 8 weeks before last frost.
Zinnias
My favourites. Great to attract beneficial insects, great for long lasting blooms, and hummingbirds love them, too. Zinnias are usually hybrids so be aware that what you grow from your seeds may not look exactly the same as the flower you harvested from. Which is just fine with me, as I have never met a zinnia I did not like ; )

Let the flowers dry completely on the stems before harvesting. Cut the flower heads off and save them warm and dry till you are ready to deal with them.

The seeds are those 'arrows' at the bottom. Pull off the top parts and place the 'arrows' into a shallow bowl.

Winnowing - gently blow over the seeds to remove petals and infertile seeds. If the seeds blow away when you gently blow over the bowl, they are not viable and will not produce flowers. The heavier ones, the ones that are a bit fat in the middle, those are the ones you want. Do not be distressed when you see those flat ones blowing out of the bowl with the dry petal bits. Direct sow in early spring. Mid April on the island, mid May on the prairies.

Sunflowers
Sunflowers are a favourite of mine to grow. They add height and colour to bare spots, are super easy to grow, need no special care, they just grow. The feed the bees when they are in bloom and when they finish for the season, they feed the birds, too.
I grow both the multi-headed types (they branch out and make many small flower heads) and the tall ones with just one large single flower. The bees love both, the birds love both. In late summer, my multi-branched ones are covered in the little birds, like chickadees and nuthatches.
Sunflowers are ready for harvesting when the flower petals have dried up, the back of the flower head has turned from green to yellow, and the seeds are black instead of white see the above picture.

I leave them out to dry in a sunny area, protected from rain, and will hang these heads from the fence or a post in winter, to feed the birds.

I also saved some of the seeds for gifting and for planting next year. I have many empty pockets in the yard where I can just toss seeds into and see what happens. I give them no love but they usually do just fine. Love happy surprises. Sunflowers germinate in warmer soil.

Purple Dianthus (aka Pinks) - A perennial!
These carnation like flowers are easy to grow, smell like cloves, add long lasting blooms to your beds, and feed pollinators.
Leave the flowers to dry on the plant so that the seeds ripen. Deadhead your plant to remove the finished seed heads. Inside each of the spent flower heads, you will find dozens of seeds. Rub the dry blossom between your fingers over a plate or bowl, the seeds easily fall out.

This purple dianthus is really the prettiest flower~ My neighbours all fell in love with it so I saved quite a bit of seeds and have shared the bounty.

This type of Dianthus (there are several kinds) also goes by the common name of Pinks. So, I thought it would be kind of cute to stamp 'Purple Pinks' on the envelope ; )

Nasturtiums - aka Nasties (not because they are nasty, just short form ; )
These pretty flowers add a bright pop of colour to the garden, are lovely cascading over the sides of raised beds, vining and clambering over and through the beds.
They also work as a lure crop, to lure pests away from your food crops. Plant them near your cabbages to keep the aphids on the nasturtiums. Nasties are a real favourite with hummers, too.
Both the flowers and the seeds are edible!

How to collect the seeds - Look amongst the foliage for the twisty stems of the spent blooms for that is where you will find these round, lovely seeds.
They may be brown or green, either works just fine. They may be in clusters of two or three, like you see here in the picture, or they may be singles. The green ones will be clinging to the stems while the brown ones will have fallen onto the ground. Both will dry and store and grow equally well next year. Start indoors a few weeks early or direct sow in late spring.

Calendula aka Pot Marigolds
These super bright and happy flowers are also edible and are great companion plants in your garden, especially near tomatoes and cabbage plants.
Calendula is a great work horse plant in your food garden as it attracts a good variety of both pollinators and beneficial insects.
Calendula petal are great dried and made into salves, soaps, ointments, teas, and balms of all kinds. They have antiseptic, anti-inflammatory, antibacterial and antifungal properties that prevent infections.

Pick the dry seed heads off of the calendula plant. If they are not yet dry, harvest the entire branch and let the flowers dry on the branch before harvesting.
Rub your finger along the dry flower head to loosen the seeds from the flower cap and leave out to dry thoroughly. You can also pop the branches of blooms into a paper bag to dry and the seeds will simply fall into the bag when dry.
The seeds are 'C' shaped curly cuties, but kind of look like caterpillars if picked when green.
Calendula is very cold tolerant, you will often see them flowering in the snow!

Sweet Peas
Sharing this how-to even though my seed pods are nowhere near ready. I will be out of luck for harvesting my own, this year.
When your sweet peas have made these little 'peas pods', you leave them on the vine until they are brown and dry. The seeds in this picture are still very green and the seeds small and flat. If I were to pick these, they would not produce flowers. The pods have to be dry and brown, the seeds round and a little bit plump.
A fun tip - Sweet Peas do not cross pollinate so pick whatever colours you have that you like and they will come true from the seeds. Sow some seeds in late fall for earlier blooms, or in early spring, a couple weeks before last frost.

Make sure all the seeds are good and dry before you package them up to prevent them from going mouldy, or bad.
If they are not completely dry at picking time, place them in a warm, dry spot for a week to finish up. I used to do this in the greenhouse back on the acreage. Now I use my lovely new potting shed, but you can just keep them on the kitchen table!

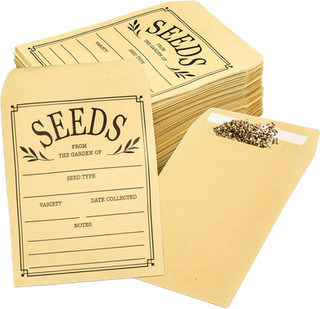
I bought myself some letter stamps and envelopes to make my own seed packages, and whatnots. I love the imperfect look of the stamped letters and will use these stamps a whole lot at Christmas time for crafting and gifting.

I love this 70 piece stamping kit. It comes with upper and lower case letters, numbers, and a few common punctuation marks, too. You can line them up real nice, if you prefer, but I like the letters just a wee bit askew and so I do it on purpose!
\I also like to mix an upper case letter in with lower case now and again. If you like to make your own gift tags, print something meaningful on artwork, make linen napkins, bread bags, or other items with a stamp on it, this set has everything you need.
What I Used...

Disclaimer - Here are the items I used for making the seed packets. If you wish to buy them, just click on the link and it will take you straight to the item on Amazon. If you buy the items from one of my links, I make just a wee bit of money to support my blog, but the price you pay is exactly the same as it would be if you went there without my link. You do not pay extra to support me using these links: )


I love these letter stamps, I have used them oodles of times since I purchased them. They are handy for seed saving, Christmas and birthday gift tags, and also for the seeded tags and paper.
The paper envelopes are the perfect size for gifting seeds, saving seeds, and for making personalised gift card folders. They fit the card just right!
Use the tag punch to make several sizes and types of corners, using any pretty paper that you have at home. Or, buy these ready made gift tags instead. I have both as I love the simplicity of kraft paper, but I also love using my pretty floral sheets of paper. It all depends on the occasion, eh?


What great fun this is to do.
Saving seeds. Gifting seeds.
It is super simple, cost effective, and is a lovely gift idea for your gardener friends.


Comments