Spiffy Up a Thrift Store Table
- Oct 7, 2022
- 3 min read
Updated: Aug 26, 2024

Have you ever walked into a thrift store, flea market, or garage sale and come upon something really special? Something amazing, like a table with really great shape or style that is calling out to you, but it is absolutely not your 'look'?
It is so very easy to fix it up with paint and make it your own, have it fit in with your aesthetic.
I recently found this gorgeous table, Love the leaves, the legs, the size, the whole table... but disliked the colour. This cute table was originally painted a sort of two-toned grey faux bois (faux wood grain), but I really and truly am not a grey kind of gal.

This is what the table looked like when we bought it. We got it from a really cool little thrift shop here in town called "Freaks for Antiques'. Lots of great things in that shop. I will be back... a lot.
It had so many layers of paint on it, and the leaves were a bit wonky as they used the wrong type of screws to put the hinges on.
Hubby will fix the screws while I deal with the colour.

I then started the sanding process. Took it down to white in some places and wood in the others.
Sand it really well, get rid of any drips or gloopy bits, take it down as far as you want to go. You may even just want to just sand it down lightly to scuff it up for the new coat of paint to hold. Depends on how many layers of paint is on your piece.
Some will put on a coat of primer after the sanding to help with paint adhesion. I did not do this step on this table as I sanded the heck out of it with all those coats of paint it had.
Then I gave it two coats of this beautiful soft green hue and left it for a month to cure. Basically, my primer.

This Pinterest picture was my inspiration piece for colour. Is she not absolutely gorgeous? Green, rusty, weathered, shabby chic... right up my alley. I know that my table does not have this dark hue underneath so I will need to add some brown wax to add a bit of 'dinge'.

So, I went to my local Home Hardware store, brought the inspiration picture with me and found this lovely green hue called 'Chic Shade'. So perfect for my shabby chic heart.
I know these pics are all coming out not showing the exact shade of green, but it is truly lovely. Very close to the inspiration photo.

So, I painted it with two coats of paint again. Letting it dry a day in between coats and then let it sit for a few more days before I started sanding and buffing.
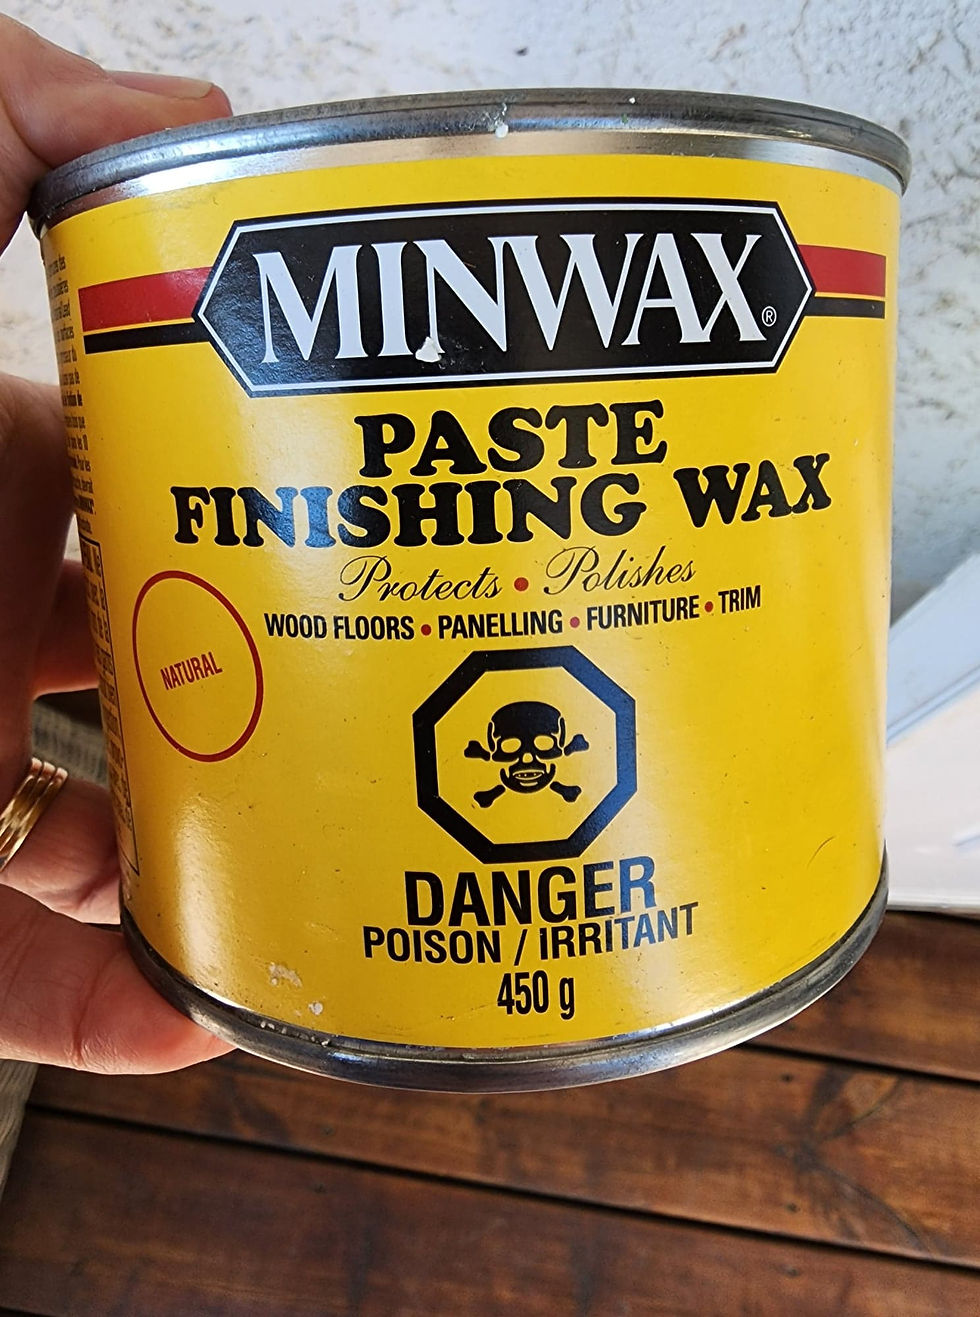
After painting it, sanding it, distressing it a bit, I covered the whole thing with paste wax, let it sit for 10 minutes, and then buffed it up well.
The wax gives the paint a bit of a sheen and makes is stronger so that it does not scratch or stain. It also allows the grandkid's cereal milk, juice, or my wine, to just bead up on the surface for easy clean up.
This is the one that I used. You can also find small tins in various colours any place that sells chalk paint. I'm sure that Michael's and Amazon carry something similar, as well.

What can I say? I just love everything about this beauty.
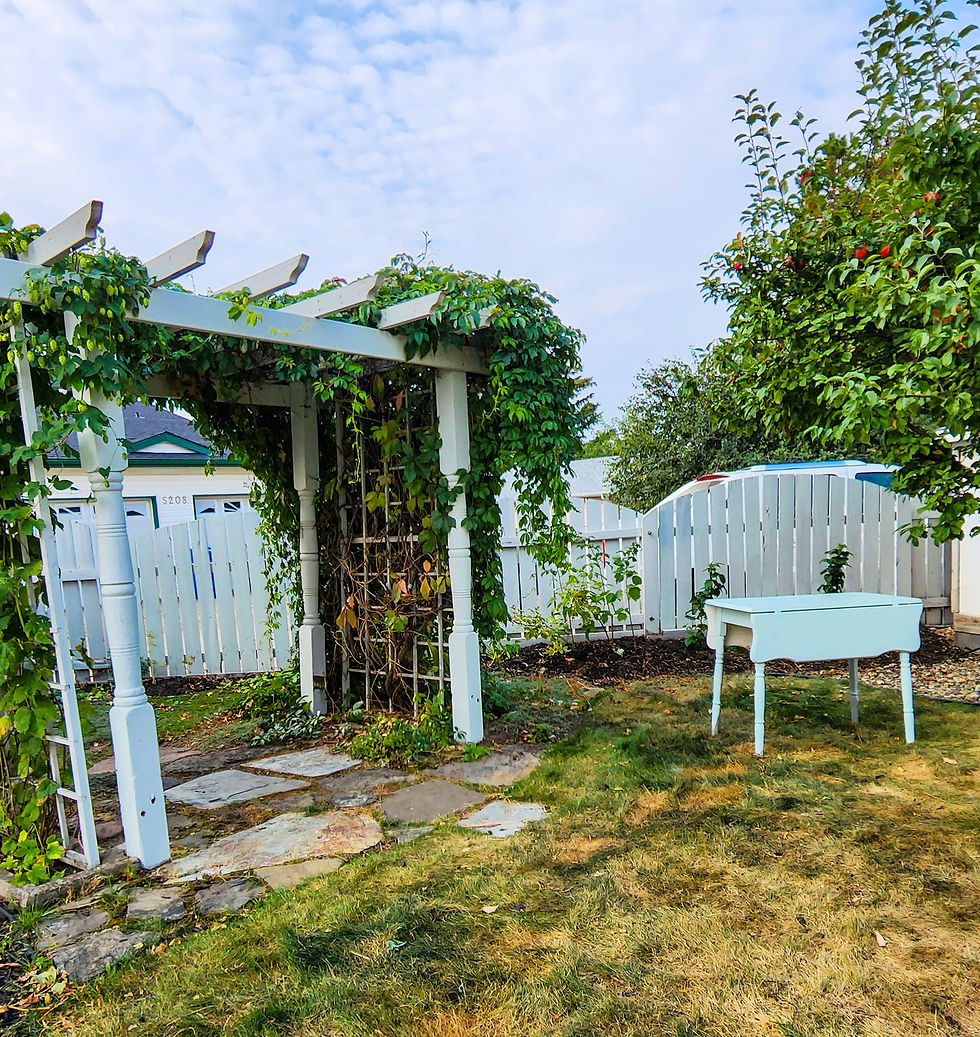
This is the finished table. I love it so much, everything about it. I wanted to keep it outdoors for my garden table, but I think it needs to go into the kitchen for the winter so that my grandbabies have a table to sit at when they eat breakfast after sleepovers, while watching their 'shows'.
We have a very small eating nook in the kitchen so will be on the lookout for a small square or round table instead, just big enough to two. I will then snag this for the yard and greenhouse again.
I am still on the lookout for some brown paste wax to put on here and there, especially on the edges and rounded leg bits, to give it that aged dingy look, some patina.

Support local fun shops.
Pick up cool pieces of furniture when you see them even if you don't love it as is.
Ps, don't you just love the look of these hops in the vase? What a fun fall 'flower'!
Happy Painting ~ Tanja


Comments